Beautiful Gardens, landscaping, art, printing For Your Home And Garden!
Beautiful Gardens, landscaping, art, printing For Your Home And Garden!
Learn how to build a rain garden that slows runoff, supports pollinators, and creates a living, low-maintenance focal point for your yard all year, too.
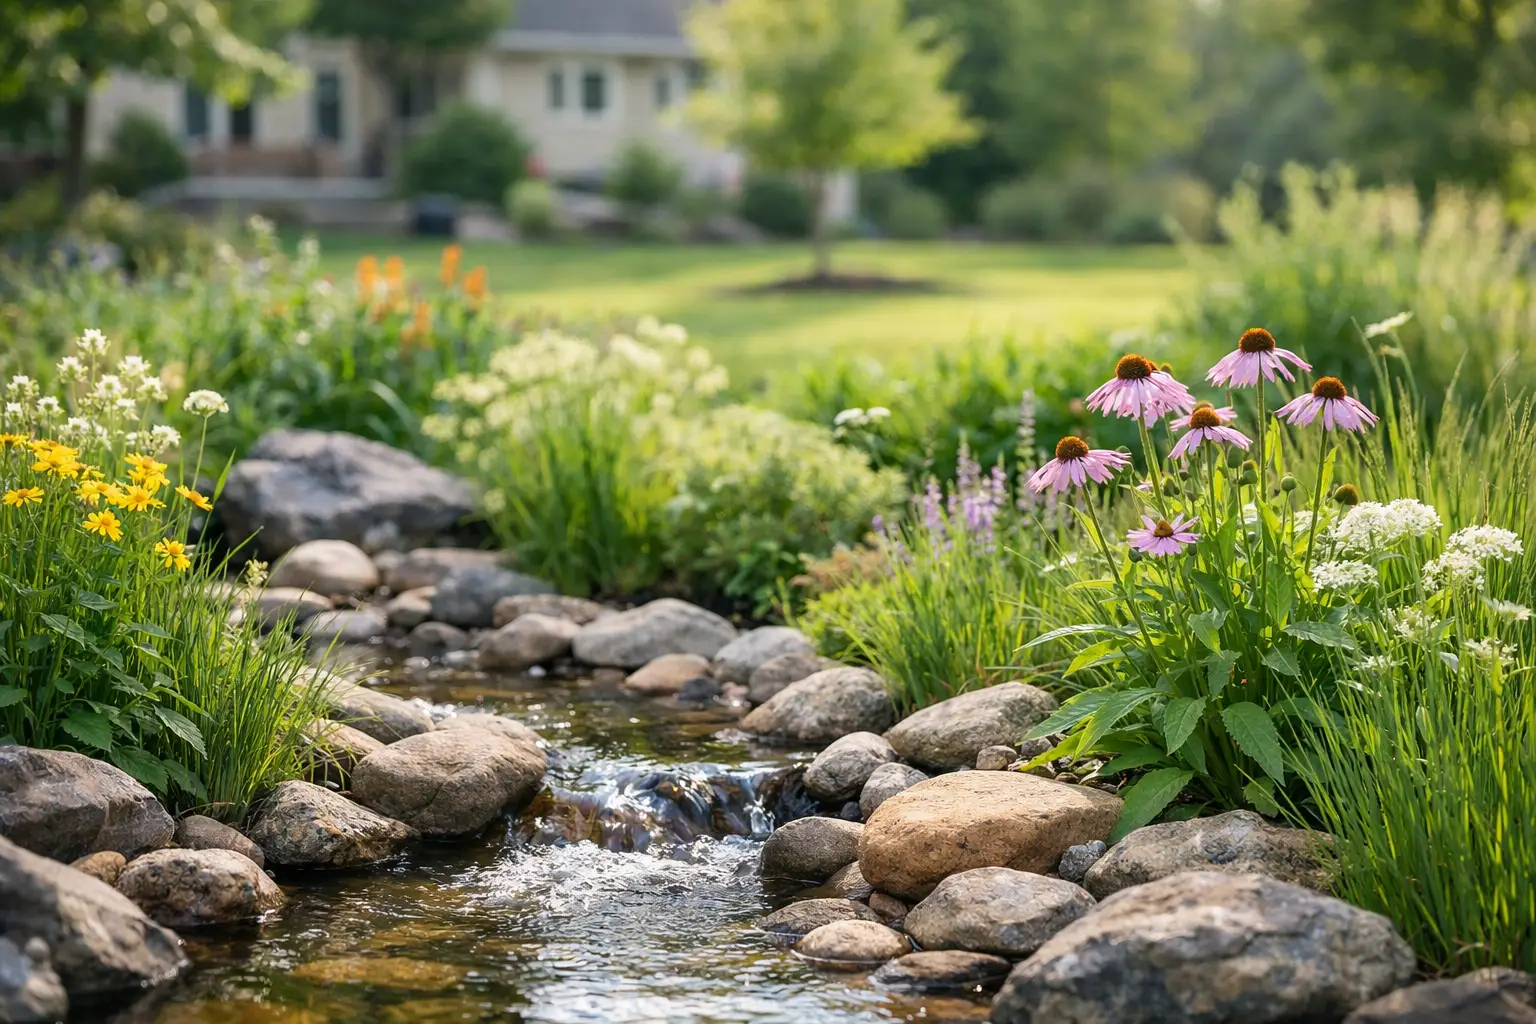
A hard rain should not have to end in a puddle at the foundation, a muddy path across the lawn, or water rushing toward the street. Knowing how to build a rain garden gives that runoff a better destination: a planted hollow where water can pause, soak into the ground, and nourish a small, changing ecosystem.
Done well, a rain garden does more than solve a drainage problem. It becomes a living threshold between house and landscape – a place where grasses move in the wind, flowers draw pollinators, and seasonal moisture shapes the garden rather than disrupting it. Its beauty is not overly controlled. It is the quiet beauty of a landscape working with the weather.
A rain garden is a shallow, planted basin designed to capture runoff from a roof, driveway, patio, or lawn. It temporarily holds water after a storm, then lets that water filter through amended soil and drain away, usually within 24 to 48 hours. This reduces erosion, helps limit polluted runoff, and puts water back into the soil where plant roots can use it.
It is not a pond, and it should not stay wet all the time. The goal is a garden that can accept occasional flooding while looking healthy during dry stretches. That makes plant selection and location far more important than simply digging a hole and filling it with flowers.
For a small suburban yard, the rain garden can also act as an outdoor-room feature. Place a bench nearby, frame it with a stepping-stone path, or let it soften the view from a kitchen window. In this way, practical water management becomes part of daily life rather than a hidden utility project.
Start by watching your yard during a normal rain. Notice where water leaves the downspout, crosses paving, collects at the bottom of a slope, or cuts channels through mulch. The best site receives runoff naturally, but sits at least 10 feet from the house foundation. Avoid placing it over septic systems, directly above buried utilities, or in a spot where water already stands for days.
A gentle slope is helpful because water can be guided into the garden with a shallow swale, a stone-lined channel, or a buried downspout extension. If your yard is very flat, you may need to shape a subtle route toward the basin. If it is steep, slow the water before it enters with stones, dense grasses, or a small level spreader so it does not scour the soil.
Before committing, test drainage. Dig a hole about 12 inches deep, fill it with water, let it drain, then fill it again. Measure how quickly the second filling disappears. If water remains after 48 hours, the soil drains too slowly for a standard rain garden without professional advice or substantial soil changes.
Four conditions call for extra caution:
Local rules vary, especially where drainage connects to public systems. Call the utility-locating service before digging, and check whether your municipality has requirements for downspout disconnection, drainage work, or rain-garden installation.
A rain garden does not need to absorb every drop from the largest storm. For many home landscapes, a basin roughly 20 to 30 percent of the drainage area is a practical starting point. For example, if a 500-square-foot section of roof sends water to one downspout, a rain garden of about 100 to 150 square feet may work, depending on soil drainage and local rainfall.
Keep the first project modest. A 6-by-10-foot basin can make a meaningful difference and is easier to shape, plant, and maintain than an oversized feature. Depth is typically 6 to 12 inches. Sandy soil may handle a deeper basin, while clay soil is usually better with a broader, shallower form.
The basin should have a level bottom, even if the surrounding yard slopes. This gives water time to spread across the planting area instead of gathering in one deep pocket. Use the excavated soil to create a low berm along the downhill edge, then blend that berm gently into the surrounding grade. It should read like a natural fold in the land, not a miniature dam.
Mark the outline with a hose or garden rope before digging. Curved, asymmetrical edges often feel more at home in a planted landscape than a perfect oval, especially when the garden is viewed from a patio or window. Let the curve respond to the route of the water and the lines of your existing beds.
Remove turf and excavate gradually. Check the depth in several places and rake the base level. Do not compact the soil by repeatedly walking on it. If the drainage test showed moderately slow soil, mix compost into the top layer to improve structure, but avoid creating a sharply different soil pocket that prevents water from moving naturally into the ground.
Create a stable inlet where runoff enters. A small apron of river stone, fieldstone, or gravel can dissipate the force of water from a downspout. Use stones sparingly and intentionally. Their role is to protect the soil and create a visual pause, not to turn the whole garden into a dry creek bed.
Plan an overflow route, too. During an unusually heavy storm, the rain garden needs somewhere safe to release excess water. Shape one low point in the berm so overflow moves away from the house and toward a lawn, larger planted area, or approved drainage route.
The most natural rain gardens are planted in layers of moisture tolerance. The lowest center gets the wettest conditions after rain. The sloped sides are moist but drain more quickly. The outer rim and berm may become quite dry between storms. Matching plants to these zones is what makes the garden resilient.
In the center, choose species that tolerate brief wet periods, such as swamp milkweed, blue flag iris, cardinal flower, sedges, rushes, or native asters suited to your region. On the middle slopes, coneflowers, bee balm, little bluestem, switchgrass, black-eyed Susans, and many native perennials can create a long flowering season. On the upper edge, drought-tolerant grasses, yarrow, blazing star, or regionally appropriate shrubs help anchor the composition.
Native plants are usually the strongest foundation because they have evolved with local rainfall patterns and support local insects, birds, and soil life. That said, “native” is not a single design style. A rain garden can be meadowlike and loose, or more composed and architectural. Repeat a few plants in drifts, then vary heights and textures: airy grasses, broad leaves, fine seed heads, spring flowers, and winter structure.
Avoid planting each species as a lonely specimen. Groups of three, five, or more read more clearly from a distance and make it easier for pollinators to find blooms. A rain garden should look alive in every season, including late fall, when seed heads and dried grasses bring shape to the quieter garden.
Water deeply during the first growing season when rain is scarce. Once roots settle in, the garden should need far less attention than a conventional flower bed. Add a 2- to 3-inch layer of shredded leaf mulch or untreated bark around young plants, keeping mulch away from crowns and stems. This protects soil, suppresses weeds, and gives the planting a finished appearance while it fills in.
After storms, inspect the inlet, overflow point, and lower basin. Clear leaves or sediment that block water movement. If a spot erodes, add a few strategically placed stones or a denser clump of grass rather than rebuilding the entire feature. In spring, cut back dead stems after winter, leaving some hollow stems and seed heads through the colder months for beneficial insects and birds.
A rain garden is allowed to change. One plant may thrive more than expected, while another may prefer a drier shoulder. Edit gently over time. Move what is struggling, divide what is abundant, and let the design become more rooted in the particular weather and soil of your home.
The most satisfying rain gardens reveal their purpose during a storm, then settle back into beauty afterward. Stand nearby when the next rain arrives. Watch where the water enters, where it slows, and which leaves catch the drops. That observation is not maintenance alone – it is how a garden becomes a more attentive, resilient part of home.